If you’ve just bought an electric egg cooker or you’re planning to, this guide will help you use it the right way – without overcooking, cracking, or guessing the water levels.
- What Is an Electric Egg Cooker & Why You Should Use One
- How to Use an Electric Egg Cooker (Step-by-Step)
- 1. Measure the Water (Most Important Step)
- 2. Pierce the Eggs (Optional but Useful)
- 3. Place the Eggs on the Tray
- 4. Close the Lid & Turn It On
- 5. Wait for the Auto Shut-Off
- 6. Put Eggs in Cold Water
- 💖 You Might Also Like
- My Personal Experience & Mini Case Study
- Electric Egg Cooker vs Stovetop (Honest Comparison)
- Use Cases Where an Electric Egg Cooker Helps the Most
- 1. Gym Diet
- 2. Busy Mornings
- 3. Students in Hostels
- ✨ More Stories for You
- Troubleshooting Tips (Based on Real Issues I Faced)
- ❗ Eggs Overcooked
- ❗ Eggs Crack While Cooking
- ❗ Smell / Metallic Odor
- ❗ Undercooked Eggs
- Best Electric Egg Cookers I Recommend
- 1. Kent Instant Egg Boiler (Best for Consistency)
- 2. Agaro 7-Egg Boiler (Heats Faster)
- Final Words
I’ve personally used the Kent Instant Egg Boiler and the Agaro 7-Egg Boiler, and I’ll walk you through real steps, issues I faced, how I fixed them, and expert tips that actually make your eggs turn out perfect every time.
What Is an Electric Egg Cooker & Why You Should Use One
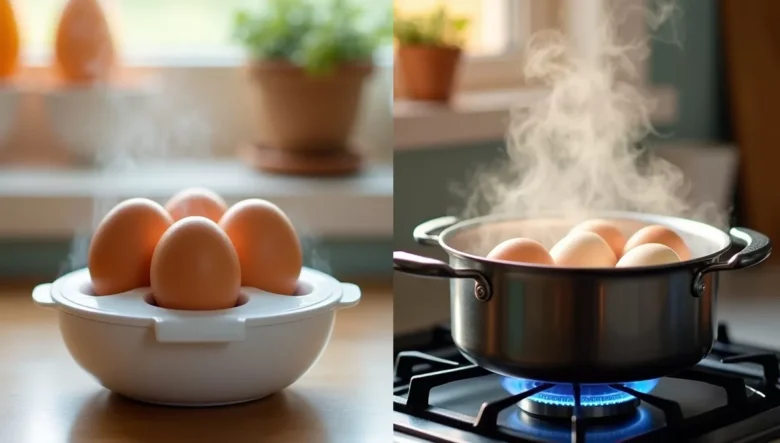
An electric egg cooker steams eggs using a measured amount of water. Add water → place eggs → turn it on → it stops automatically when done.
It’s a favorite for:
- Gym diets
- Busy mornings
- Students living in hostels
- People who want consistent eggs without effort
How to Use an Electric Egg Cooker (Step-by-Step)
Here’s the exact method I use daily:
1. Measure the Water (Most Important Step)
Every cooker comes with a small measuring cup.
Add water based on the type of eggs you want:
- Soft boiled – least water
- Medium boiled – medium water level
- Hard boiled – max water line
👉 Adding extra water will overcook your eggs. I’ve made this mistake many times early on.
2. Pierce the Eggs (Optional but Useful)
Use the needle under the measuring cup (if provided).
This helps:
- Prevent cracks
- Make peeling easier
3. Place the Eggs on the Tray
Place them upright if possible.
Tip: Don’t overcrowd the tray — even if your cooker supports 7 eggs, leave some gap for even steaming.
4. Close the Lid & Turn It On
Just switch it on.
The cooker will heat the water → turn it into steam → and stop automatically when the water evaporates.
On the Kent Instant Egg Boiler, results were consistently perfect.
With the Agaro model, I noticed it heats slightly faster.
5. Wait for the Auto Shut-Off
Some models stop automatically; some buzz.
Once the cooker stops, lift the lid carefully (steam is hot).
6. Put Eggs in Cold Water
This stops the cooking process instantly and makes peeling easier.
Done! Your eggs are ready.
💖 You Might Also Like
My Personal Experience & Mini Case Study
As someone who works full-time in SEO, web development, and digital marketing, mornings are usually tight for me. Before using an electric egg cooker, I often forgot eggs boiling on the stove — resulting in cracked shells or overcooked yolks.
After switching to the Kent Instant Egg Boiler, my routine changed:
- Prep time reduced from 12 minutes to 1 minute (add water → place eggs → switch on)
- Eggs came out consistent every day
- I used the saved time to check client emails or analytics reports
For busy professionals, it’s genuinely a game-changer.
Electric Egg Cooker vs Stovetop (Honest Comparison)
| Feature | Electric Egg Cooker | Stovetop |
|---|---|---|
| Ease of Use | Very easy – add water & press button | Needs attention & timing |
| Consistency | Almost always perfect | Depends on water quantity & heat |
| Time Saving | Yes, fully hands-free | No – must monitor |
| Portability | Very portable | Not portable |
| Energy Use | Lower | Higher |
| For Beginners | Excellent | Moderate |
Winner: Electric egg cooker (especially for office-goers, students, and fitness enthusiasts)
Use Cases Where an Electric Egg Cooker Helps the Most
1. Gym Diet
If you eat 4–6 eggs daily, this saves a lot of time.
2. Busy Mornings
Just turn it on and get ready — breakfast cooks on its own.
3. Students in Hostels
Electric cookers require:
- No gas
- No supervision
- Minimal space
Perfect for hostel rooms.
✨ More Stories for You
Troubleshooting Tips (Based on Real Issues I Faced)
❗ Eggs Overcooked
Likely cause → Too much water
Fix: Use the exact water level on the measuring cup.
❗ Eggs Crack While Cooking
Likely cause → No piercing
Fix: Pierce the eggs before placing them.
❗ Smell / Metallic Odor
I faced this when the metal heating plate wasn’t cleaned properly.
Fix:
- After cooling, wipe the plate with vinegar + water.
- Always remove mineral deposits.
❗ Undercooked Eggs
Happens if water level is too low.
Fix: Add 1–2 ml more water next time.
Best Electric Egg Cookers I Recommend
Based on daily usage:
1. Kent Instant Egg Boiler (Best for Consistency)
2. Agaro 7-Egg Boiler (Heats Faster)
Both are dependable, beginner-friendly, and perfect for everyday use.
Final Words
Using an electric egg cooker is incredibly simple — but using it properly gives you consistently perfect eggs every time. With the right water level, a clean heating plate, and a little care, it becomes one of the most reliable kitchen tools.
If you want to explore more helpful kitchen or appliance tips, check out my related guide anytime.


