How to Keep Your Phone Number When Switching Phones
Getting a new phone is super exciting! But you might wonder – “Will I lose my old number?”
Don’t worry! You can keep your same phone number even if you get a new phone. In this guide, we’ll show you how to do it step by step. It’s easy, safe, and works for almost everyone. So let’s get started and make sure your number stays with you!
Why Keep the Same Phone Number?
Your phone number is more than just digits – it’s how people reach you. Keeping your number ensures:
- No need to update contacts: Family, friends, banks, and service providers already know it.
- Continued access to services: Many apps use your number for login, 2FA, or alerts.
- Avoid confusion: You won’t miss important calls or messages.
Whether you’re switching phones on the same carrier or moving to a new one, here’s how to keep that number intact.


If You’re Staying with the Same Carrier
Upgrading your phone but keeping the same carrier (like AT&T, Verizon, T-Mobile, etc.) makes the process even simpler.
Step 1: Back Up Your Old Phone
Before switching, back up your data – contacts, messages, photos, and apps – to the cloud or your computer.
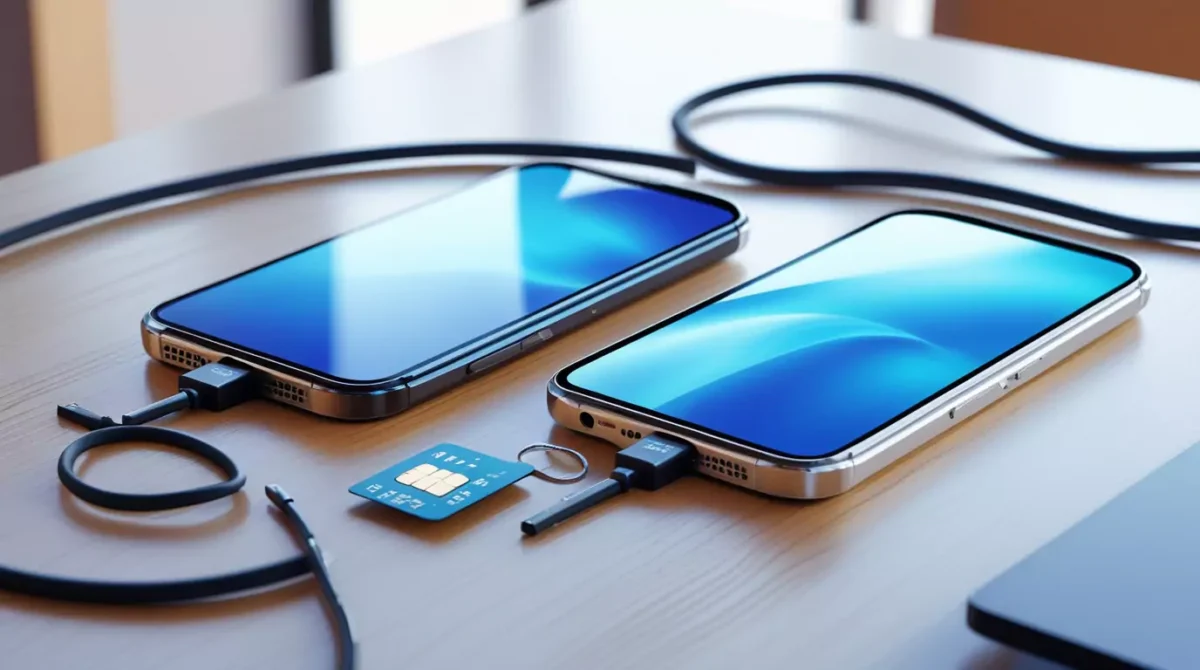
Step 2: Insert the SIM Card
In most cases, your current SIM card contains your phone number. Just move the SIM from your old phone to the new one.
- Physical SIM: Power off both devices, remove the SIM from the old phone, insert it into the new phone, then power on.
- eSIM (Embedded SIM): If you’re using an eSIM, log in to your carrier account or app and activate the eSIM on your new phone.
Step 3: Activate the New Phone
Once the SIM is inserted or the eSIM is set up, the phone should automatically connect. Make a test call to ensure everything is working.
If You’re Switching to a New Carrier
Moving to a different network provider? You can still keep your number through Mobile Number Portability (MNP).
Step 1: Check Eligibility
Make sure your number is eligible to be ported. Most numbers can be transferred, but:
- The number must be active.
- Any outstanding bills should be cleared.
- You should be the rightful owner of the number.
Step 2: Gather Information
You’ll usually need:
- Your current phone number
- Your current carrier account number
- Your PIN or password (for number transfer)
- Your personal details (name, billing address, ID proof)
Step 3: Start the Porting Process
Visit the new carrier’s store or website and request to port in your number. During this step:
- You’ll be asked to provide the necessary details.
- You might need to verify your identity.
- You’ll get a new SIM card from the new carrier.
Step 4: Wait for Activation
Porting usually takes a few hours to a couple of days. During this time:
- Your old SIM will remain active.
- You’ll receive an SMS when the transfer is complete.
- Once ported, insert the new SIM into your new phone.
Important Tips for a Smooth Transfer
- Don’t cancel your current service before porting. If your current number gets deactivated, you might lose it.
- Have a backup phone handy during the transition period.
- Transfer WhatsApp, banking, and other apps that use your phone number to the new phone early, to avoid issues.
- Keep both phones charged and connected to Wi-Fi, especially when restoring backups or downloading carrier settings.

Special Cases: Prepaid, Family Plans, and Business Numbers
- Prepaid users can port their numbers just like postpaid users. Just ensure the SIM is active and balance is cleared.
- Family plans may require individual port-out requests for each number.
- Business numbers might involve extra verification or account permissions.
Final Words
Keeping your phone number when switching phones is not just convenient – it’s smart. Whether you stay with the same carrier or move to a new one, following these steps will help you retain your number with minimal effort.
New phone, same number, no worries.