One-Day Bike Riding Lessons for Kids | Quick & Easy Guide
- Why Most Parents Get This Wrong
- The One-Day Method That Actually Works
- 💖 You Might Also Like
- Step 1: Strip It Back to Basics
- Step 2: The Scooting Phase (30-45 minutes)
- Step 3: Giant Steps and Hops
- Step 4: One Pedal Wonder
- Step 5: The Full Setup
- The Moment of Truth
- What If It’s Not Working?
- Safety Bits (Because I Have To Say This)
- Building Confidence After Day One
- The Truth About Teaching Kids to Cycle
- Real Talk: What Actually Happens
- Common Parent Mistakes (I’ve Made Them All)
- FAQ: Everything Parents Actually Ask
- How old should my child be?
- Do we need stabilisers first?
- What if they’re scared?
- Should I buy a balance bike first?
- What size bike do they need?
- How long should each session be?
- What if it rains?
- Should I use a helmet cam to film it?
- The Bottom Line
Right, let’s get straight to it.
You’ve been putting this off for months.
Your kid’s mates are all whizzing about on two wheels whilst yours is still rocking stabilisers like they’re going out of fashion.
The guilt’s eating you alive.
I get it.
Teaching a child to ride without stabilisers feels massive.
Like one of those parenting moments where you can’t mess up.
But here’s the thing nobody tells you – it doesn’t have to take weeks.
I’ve seen kids nail it in a single afternoon.
And I’m about to show you exactly how.
Why Most Parents Get This Wrong
Most people overthink this.
They make it complicated when it’s dead simple.
The traditional approach?
Stabilisers for ages. Then wobbling about whilst dad runs behind holding the seat. Lots of tears (from both parties). Weeks of drama.
Forget all that.
There’s a better way.
The One-Day Method That Actually Works
This isn’t some magic trick.
It’s just common sense wrapped up in a proper system.
Here’s what you need:
- One afternoon (3-4 hours max)
- A bike that fits properly
- A gentle slope (think slight incline, not Mount Everest)
- Somewhere quiet and safe
- A spanner for the pedals
- Your patience hat on
💖 You Might Also Like
Step 1: Strip It Back to Basics
First job – lower that seat right down.
Your kid should be able to put both feet flat on the ground whilst sitting.
If they’re on tiptoes, it’s too high.
Next – remove both pedals completely.
Yeah, both of them.
This turns the bike into what’s basically a balance bike.
Trust me on this one.
Most kids who struggle with cycling can’t balance properly.
So we’re starting there.
Step 2: The Scooting Phase (30-45 minutes)
Find your gentle slope.
Nothing dramatic – just enough that gravity gives a tiny helping hand.
Get your child to sit on the bike and scoot forwards using both feet.
Like they’re on a scooter, but sat down.
Start with little shuffles.
Then encourage bigger steps.
The magic happens when they start lifting their feet off the ground for longer periods.
What you’re looking for:
- Confident scooting
- Feet coming up naturally
- Steering without wobbling
- Using the brakes properly
Don’t rush this bit.
It’s the foundation for everything else.
Step 3: Giant Steps and Hops
Once they’re comfortable scooting, we level up.
Giant steps first: Get them to take massive strides whilst sat on the bike. Push off with one foot, then the other. Cover about 10 metres each time.
Then move to kangaroo hops: Both feet together, hopping forwards whilst seated. Sounds daft but it builds that balance confidence.
This is where most kids start grinning.
They’re basically riding already – just without pedals.
Step 4: One Pedal Wonder
Here’s where it gets interesting.
Put just one pedal back on.
Doesn’t matter which side.
Now get your child to:
- Place one foot on the pedal
- Scoot forward with the other foot
- Look ahead (not down at the pedal)
They’ll naturally start using the pedal to push forward.
This bridges the gap between scooting and proper cycling.
Most kids get this within 10-15 minutes.
Step 5: The Full Setup
Right, both pedals back on.
Here’s the bit that separates the wheat from the chaff.
Don’t hold the bike.
Hold your child instead.
Hand on their back, maybe their shoulder.
Get them to:
- Put both feet on the pedals
- Look straight ahead
- Start pedalling
You walk alongside, holding them steady.
After a few metres, gradually reduce your grip.
Don’t announce it.
Just slowly let go.
Most kids don’t even notice.
The Moment of Truth
This is usually when it clicks.
One second you’re holding them.
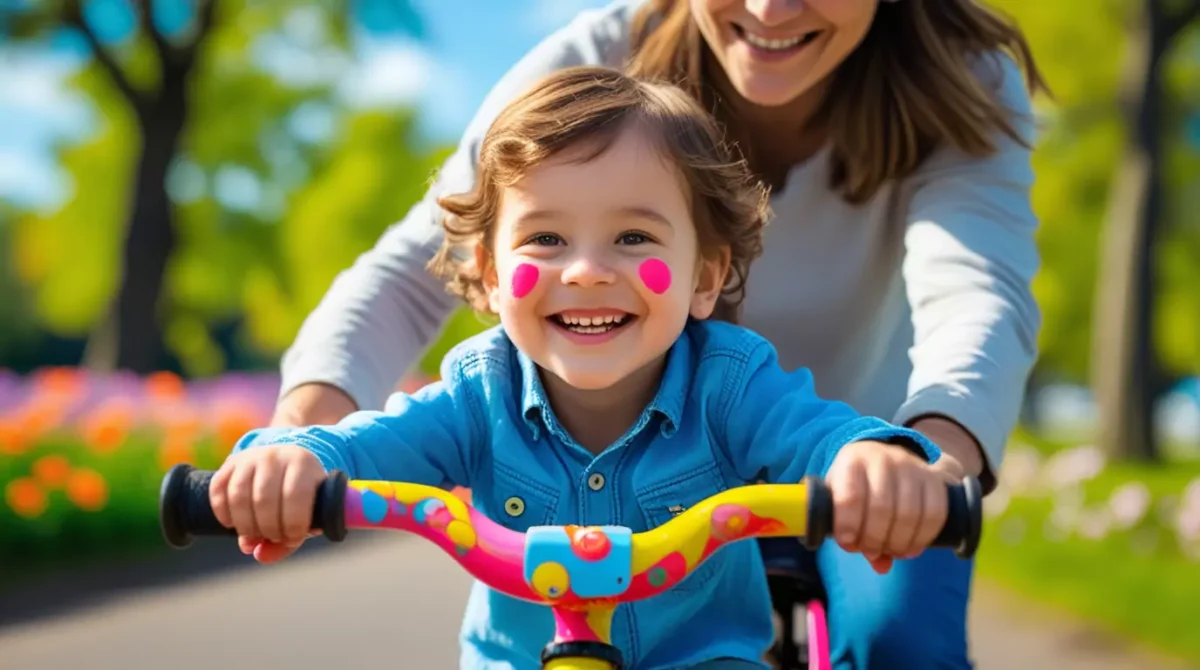
Next second they’re off on their own.
The look on their face?
Pure magic.
But here’s the important bit – don’t make a massive fuss straight away.
Just let them enjoy the moment.
Celebrate after they’ve stopped.
What If It’s Not Working?
Look, not every kid’s the same.
Some need longer on the balance phase.
Others get scared when the pedals go on.
Common issues:
- Looking down instead of ahead – Keep reminding them to look where they want to go
- Gripping the handlebars too tight – Get them to relax their shoulders
- Going too slow – Sometimes a bit more speed helps with balance
- Panicking about braking – Practice using brakes whilst stationary first
If they’re getting frustrated, take a break.
Come back later.
The bike isn’t going anywhere.
Safety Bits (Because I Have To Say This)
Helmet on.
Always.
No negotiations.
Find somewhere quiet – empty car park, cycle path, quiet park.
Check the bike’s in good nick before you start.
Watch out for other people, dogs, random footballs.
Keep a first aid kit handy (probably won’t need it, but you know how it is).
Building Confidence After Day One
Once they’ve cracked the basics, it’s all about building that confidence.
Start with short rides in safe spaces.
Gradually increase the distance.
Practice starting and stopping.
Work on steering around gentle obstacles.
The Truth About Teaching Kids to Cycle
Here’s what nobody tells you.
The hardest part isn’t the teaching.
It’s managing your own anxiety.
You’ll want to grab the bike when they wobble.
Don’t.
You’ll want to shout instructions.
Keep it simple.
You’ll worry they’ll fall.
They might – and that’s okay.
Your job isn’t to prevent every wobble.
Your job is to give them the tools to handle the wobbles themselves.
Real Talk: What Actually Happens
Most kids get the basics in one afternoon.
But “getting it” and “being confident” are different things.
Day one = they can ride without falling off.
Week one = they can start and stop properly.
Month one = they’re bombing about like they were born on wheels.
Set realistic expectations.
Common Parent Mistakes (I’ve Made Them All)
Holding the bike instead of the child The bike tips. The child panics. Nobody’s happy.
Running behind for ages You get knackered. They get dependent on you being there.
Starting with pedals on Skips the crucial balance phase. Makes everything harder.
Choosing the wrong location Busy park on a sunny Saturday? Recipe for stress.
Getting impatient Some kids need longer. That’s normal.
FAQ: Everything Parents Actually Ask
How old should my child be?
Most kids can learn between 4-8 years old. But I’ve seen 3-year-olds nail it and 10-year-olds struggle. It’s about readiness, not age.
Do we need stabilisers first?
Nope. Skip them if you can. They teach kids to lean into turns, which is wrong for two-wheel cycling.
What if they’re scared?
Start slower. Spend longer on the balance phase. Let them set the pace. Fear kills confidence faster than anything.
Should I buy a balance bike first?
If your child’s never been on two wheels, maybe. But this method works with regular bikes too.
What size bike do they need?
Feet flat on the ground when seated. If they’re on tiptoes, it’s too big. Better slightly small than too large.
How long should each session be?
1-2 hours max. Kids get tired and lose focus. Better to do multiple short sessions than one marathon.
What if it rains?
Wait for a dry day. Wet surfaces + new cyclists = not a great combo.
Should I use a helmet cam to film it?
Up to you. But focus on helping, not filming. You can always recreate the moment later.
The Bottom Line
How to teach kids to ride a bike in one day isn’t about rushing.
It’s about doing it right.
Remove the pedals.
Master the balance.
Build up gradually.
Hold the child, not the bike.
Let them surprise themselves.
Most kids who “can’t learn to cycle” just haven’t been taught properly.
Give them the right foundation and they’ll amaze you.
The method works.
I’ve seen it dozens of times.
Your kid bombing about on two wheels by teatime?
Absolutely possible.
And learning to ride a bike will give them confidence that lasts way beyond cycling.
Now stop overthinking it and go make it happen.


