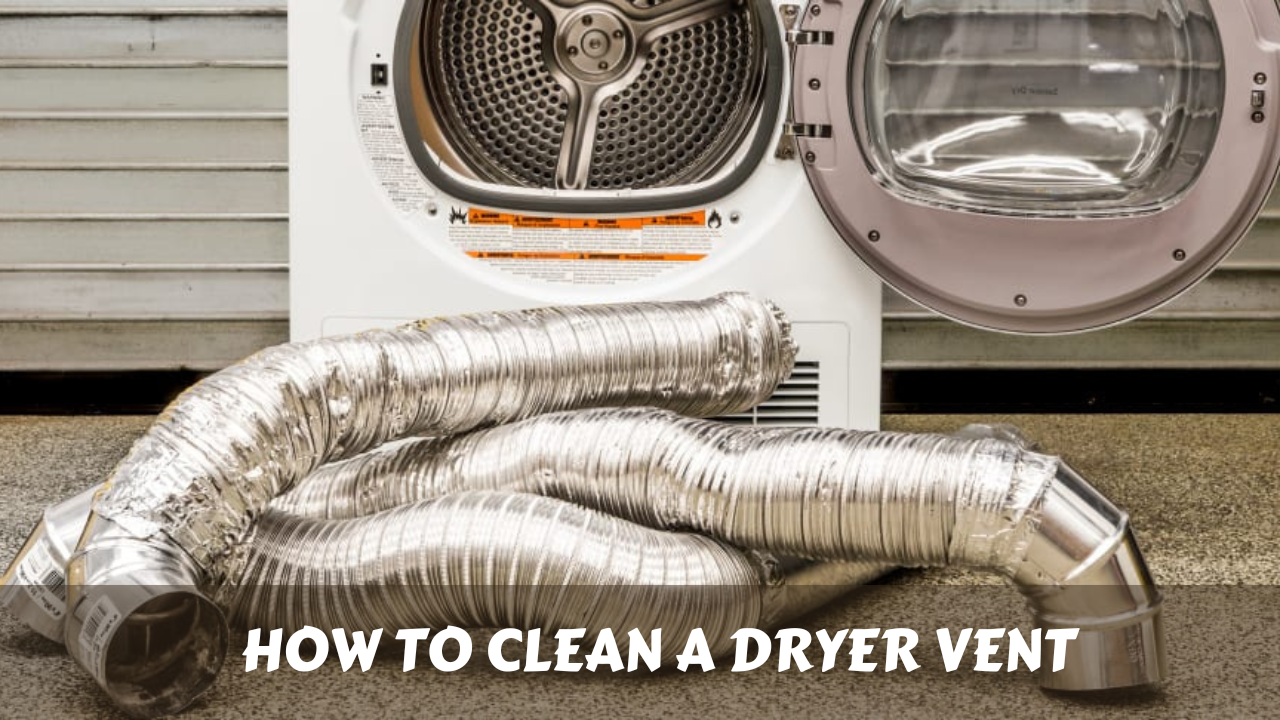
Cleaning your dryer vent is a crucial maintenance task for optimal performance. A clogged vent not only reduces efficiency but also poses a fire hazard. Regular cleaning can prevent potential issues and ensure that your dryer operates at its best.
In this post, we will cover the essential steps to clean your dryer vent effectively.
Importance of Dryer Vent Cleaning
Why is Dryer Vent Cleaning Necessary?
Cleaning your dryer vent is crucial for several reasons. Over time, lint, debris, and other particles accumulate in the vent, restricting the airflow. This blockage not only hampers the drying efficiency but also increases the risk of a fire hazard. Regular cleaning ensures optimal performance, energy efficiency, and safety.
Signs of a Clogged Dryer Vent
Before delving into the cleaning process, it’s essential to recognize the signs of a clogged dryer vent. These signs include longer drying times, clothes feeling excessively hot after a cycle, a burning smell, and the exterior of the dryer being unusually hot. Identifying these signs early on can help prevent potential hazards and extend the lifespan of your dryer.
Gathering the Necessary Tools and Equipment
Tools Required for Dryer Vent Cleaning
Before you begin the cleaning process, gather the necessary tools and equipment. These typically include a vacuum cleaner with a long hose attachment, a dryer vent brush, a screwdriver, a flashlight, and a vent cleaning kit. Investing in a quality vent cleaning kit can make the task more manageable and efficient.
Safety Precautions
Safety should be a top priority when cleaning your dryer vent. Ensure that the dryer is unplugged before starting the cleaning process. Additionally, wear protective gear such as gloves and safety goggles to shield yourself from dust and debris.
Step-by-Step Guide to Cleaning a Dryer Vent
Step 1: Disconnect the Dryer
Begin by unplugging the dryer from the electrical outlet. If your dryer is gas-powered, turn off the gas supply before proceeding. Pull the dryer away from the wall, creating ample space to access the vent.
Step 2: Remove the Vent Cover
Using a screwdriver, carefully remove the vent cover from the exterior of the house. Set the screws aside, ensuring they don’t get lost. This step allows you to access the vent opening and assess the level of lint buildup.
Step 3: Clean the Exterior Vent
Take the vent cleaning brush and insert it into the vent opening. Move the brush back and forth to dislodge any lint or debris stuck to the vent walls. Use the flashlight to inspect the vent and ensure it is thoroughly cleaned. If necessary, vacuum the area to remove any remaining loose particles.
Step 4: Detach the Vent from the Dryer
Disconnect the vent from the back of the dryer. Depending on your dryer model, this may involve loosening a clamp or removing screws. Once detached, shake the vent gently to dislodge any loose debris.
Step 5: Clean the Vent from Inside
Insert the vent cleaning brush into the vent opening on the dryer. Move the brush in and out, reaching as far as possible to dislodge lint and debris. Be thorough in this step, as it directly impacts the dryer’s efficiency.
Step 6: Vacuum the Interior
Use the vacuum cleaner with a long hose attachment to remove lint from the dryer’s interior. Pay special attention to the areas around the lint trap and the blower. Vacuuming the interior ensures that any loose particles are effectively removed.
Step 7: Reattach the Vent
Once the cleaning process is complete, reattach the vent to the back of the dryer securely. Ensure that any clamps or screws are tightened, preventing air leaks.
Step 8: Clean the Area Around the Dryer
While the dryer is pulled away from the wall, take the opportunity to clean the floor and surrounding areas. Lint and debris may have accumulated, contributing to a cleaner and safer laundry space.
Step 9: Reattach the Exterior Vent Cover
Securely reattach the vent cover to the exterior of the house using the screws removed earlier. This step not only completes the cleaning process but also prevents pests and weather elements from entering the vent.
Frequency of Dryer Vent Cleaning
Establishing a Cleaning Schedule
To maintain optimal performance and safety, it’s essential to establish a regular cleaning schedule for your dryer vent. The frequency of cleaning depends on factors such as usage, the length of the vent, and the type of laundry being dried. As a general guideline, aim to clean the vent at least once a year. However, if you notice any signs of a clog or reduced efficiency, consider more frequent cleanings.
Additional Tips for Efficient Dryer Vent Maintenance
Use a Lint Trap Brush
In addition to cleaning the vent, use a lint trap brush to clean the lint trap itself. This small, often overlooked component can accumulate lint, reducing the overall efficiency of your dryer.
Install a Vent Cap
Consider installing a vent cap on the exterior opening to prevent debris, birds, or rodents from entering the vent. Vent caps are available in various styles, and their installation adds an extra layer of protection to your dryer vent system.
Inspect the Vent Regularly
Perform routine visual inspections of the vent to identify any signs of wear, tear, or damage. Replace any damaged sections promptly to maintain the integrity of the vent system.
Consult a Professional
If you’re unsure about how to clean your dryer vent or encounter difficulties during the process, it’s advisable to consult a professional technician. Professional dryer vent cleaning services can ensure a thorough and efficient cleaning, addressing any potential issues.
Conclusion
Regularly cleaning your dryer vent is a simple yet crucial task that significantly contributes to the efficiency, safety, and longevity of your dryer. By following the step-by-step guide provided in this article and adopting the recommended maintenance tips, you can ensure that your dryer operates at its best while minimizing the risk of fire hazards. Make dryer vent cleaning a part of your annual home maintenance routine, and enjoy the benefits of a safer and more efficient laundry experience.